Description
motorcycle action camera mounting kit: stable helmet, handlebar and touring camera setup
motorcycle action camera mounting kit is the kind of accessory that looks simple until the first real ride exposes every weak point: vibration, wind noise, bad camera angle, loose adhesive, shaky handlebar footage or a tether that was added too late. This page is written for riders who want a clean, practical setup before buying, not a box of random adapters that only makes sense after trial and error.
The goal is a secure mounting base, a usable point of view and a setup that can be checked quickly before every ride. A good kit is not only about holding the camera. It should help you decide whether helmet mounting, handlebar mounting, mirror stem mounting or a bodywork position makes sense for your motorcycle, scooter, ATV or touring machine.
What this kit is for
This product is for riders building a reliable action camera setup for road trips, commuting, track reference footage, off-road riding, scooter touring or basic riding clips. The best result usually comes from matching the mount location to the type of footage you want, then keeping the installation tidy enough that you can inspect it before leaving home.
A motorcycle action camera mounting kit should be judged by stability, angle adjustment, vibration control, camera compatibility and safety backup. A mount that looks clean in the garage can still be wrong if it blocks your movement, touches the tank at full lock, sits in the wind blast, or makes the camera point too high once you sit on the bike.
Best mounting positions for real motorcycle use
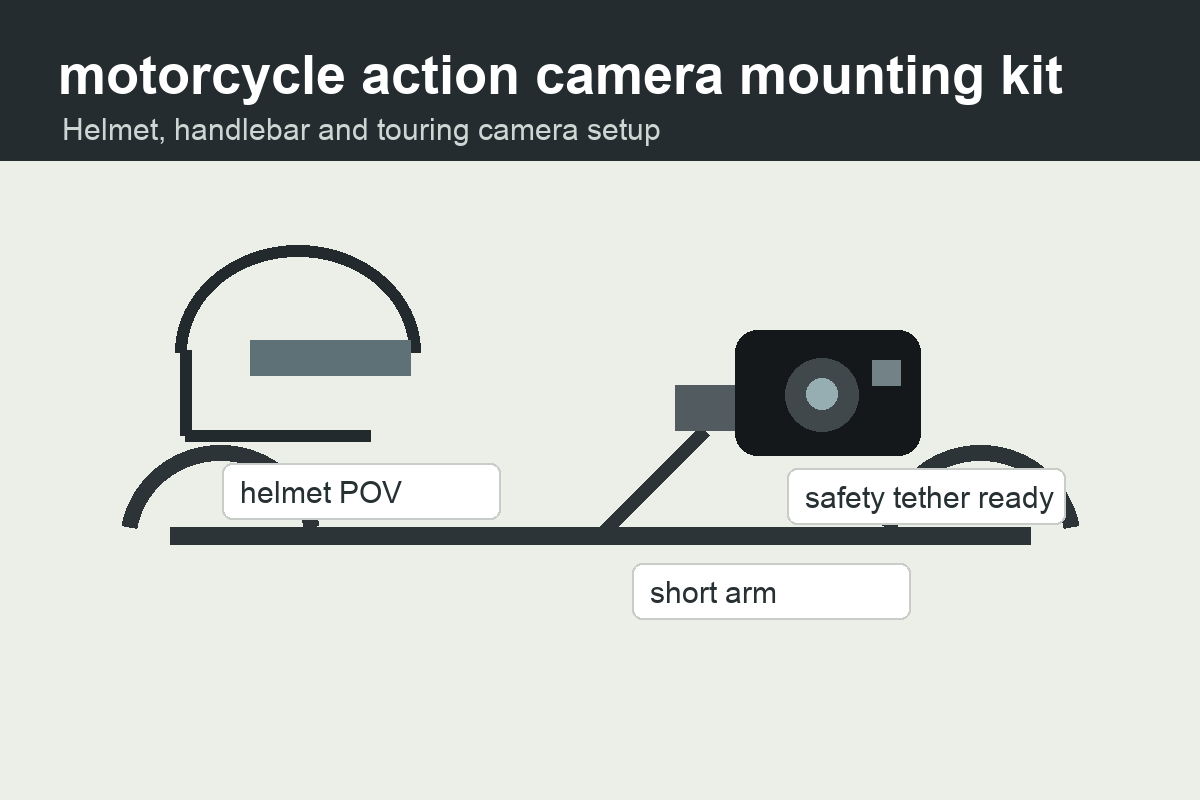
Helmet POV footage feels natural because the lens follows your head, but it also needs special care. Do not drill a helmet, do not modify the shell, and avoid any position that interferes with visor movement, vents, emergency release systems or normal head checks. Manufacturer guidance from action camera brands such as GoPro’s helmet camera guide is useful because it explains why adhesive curing time, surface preparation and safety come before the shot.
Handlebar and mirror positions are easier to access and often better for touring because you can start recording, check alignment and remove the camera without taking your helmet off. The trade-off is vibration: single-cylinder engines, stiff bars and lightweight mirror stems can transmit buzz into the footage. A short arm is usually better than a tall stack of extensions.
Bodywork and crash-bar positions can work well for low-angle footage, but they must stay away from suspension travel, hot exhaust parts, steering movement and areas that flex. On scooters, front apron and mirror mounts are often more practical than drilling panels or using adhesive on textured plastic.
| Mount position | Best use | Main risk to check | Practical advice |
|---|---|---|---|
| Helmet chin or side | Natural rider POV | Helmet safety, visor clearance, adhesive prep | Use only suitable adhesive bases and avoid shell modifications |
| Handlebar | Touring, commuting, easy access | Vibration and steering clearance | Keep the arm short and test full lock left and right |
| Mirror stem | Scooters and naked bikes | Buzz, loose mirror threads | Use a compact clamp and recheck tightness after the first ride |
| Crash bar or frame tube | Adventure and off-road footage | Impacts, mud, heat, suspension travel | Add a tether and avoid areas that can hit the ground |
Compatibility with popular action cameras
The kit is intended for common action camera layouts that use standard action-camera fingers, screw mounts or adapter plates. Riders commonly compare GoPro Hero cameras, DJI Osmo Action models, Insta360 action cameras and budget motorcycle cameras. Always confirm the camera base, cage, quick-release plate and locking screw style before ordering.
DJI’s official Osmo Action helmet chin mount is a useful reference point because it shows how brand-specific mounts can differ in weight, shape and quick-release requirements. That matters if your camera needs an extra adapter before it fits a universal bracket.
Use this motorcycle action camera mounting kit when you need the common mounting hardware first, then add any brand-specific cage or quick-release adapter required by your camera. Do not assume every accessory in the action camera world fits every camera without checking the interface.
Installation checklist before the first ride
Clean the chosen surface, mock up the angle with the rider seated, and make sure the lens view is not blocked by the screen, brake hose, handguard, mirror, chin bar or jacket. If you are using adhesive, surface preparation and curing time matter more than force. If you are using clamps, protect painted surfaces and avoid crushing thin alloy parts.
- Sit on the motorcycle in your normal riding position before locking the final angle.
- Turn the bars fully left and right and check cable movement.
- Shake the mounted camera by hand to feel for loose joints.
- Add a short safety tether where practical, especially on external mounts.
- Record a short test clip, then review vibration, horizon angle and wind noise.
- Recheck all screws after the first ride, then again after rough roads.
Vibration, sound and image stability
Most bad motorcycle footage is not caused by a poor camera. It comes from a mount that lets the camera oscillate. Long arms make the lens move more. Thin clamps can resonate. Loose joints create micro-shake. For road bikes and scooters, the most stable setup is usually compact, low and close to the mounting point.
If your footage wobbles at certain rpm, move the camera to a different location before blaming the camera. If audio is unusable, try an external microphone inside the helmet or rely on camera audio only for reference sound. For touring footage, stability is more important than a dramatic angle.
| Symptom | Likely cause | Fix before replacing parts |
|---|---|---|
| Jelly-like video | Vibration through a long arm | Shorten the mount and move closer to the clamp |
| Camera slowly tilts down | Loose screw or heavy camera angle | Tighten the pivot and reduce leverage |
| Wind roar | Exposed microphone position | Use a wind muff, helmet mic or separate audio |
| Adhesive base lifting | Dirty, cold or textured surface | Remove, clean properly and allow full curing time |
Helmet safety and responsible use
Any helmet-mounted accessory deserves caution. The helmet is safety equipment first and a camera platform second. Government guidance from the NHTSA motorcycle helmet safety page is worth reading because it explains fit, certification and unsafe helmet warning signs. That context matters before adding anything to the outside of a helmet.
Do not drill, cut, heat-shape or structurally alter a helmet to fit a camera mount. Avoid large rigid extensions and keep the mount away from the visor mechanism. If in doubt, choose a handlebar, mirror, chest or motorcycle body mount instead of a helmet mount.
How this product fits into a full camera setup
A mount is only one part of the setup. For a complete recording system, also think about battery access, memory card size, rain protection, microphone routing, lens cleaning and where you will store the camera when parked. Touring riders should keep spare screws and a small tool in the seat compartment or luggage.
For a broader setup plan, read our best motorcycle action camera setup guide. If you are also upgrading rider-facing electronics, the motorcycle dashboard upgrade guide explains how to keep wiring and cockpit accessories tidy. You can also compare related accessories in the motorcycle electronics category.
Who should choose this kit
This kit makes sense for riders who want a flexible starting point for filming rides without committing to one fixed location. It is especially useful for commuters, scooter riders, tourers, trail riders and content creators who test several angles before deciding what works. It is less suitable for anyone looking for a permanent race-only camera bracket or a camera-specific factory mount with a single dedicated shape.
A flexible camera mount kit is also a good choice when you already own the camera but are unsure whether helmet POV, bar-mounted footage or low-angle motorcycle shots will suit your riding. Start with the cleanest, safest position, test it, then build from there.
FAQ
Is helmet mounting always the best angle?
No. Helmet footage often looks natural, but handlebar and mirror mounts can be safer, easier to inspect and simpler for daily riding. Choose the position that gives a stable view without interfering with your helmet or controls.
Can I use this with a scooter?
Yes, many scooter riders use mirror or handlebar-adjacent mounting points. Check mirror thread tightness, screen clearance and vibration before riding at speed.
Should I use a tether?
Yes, especially with external mounting points. A tether is a backup, not an excuse for a loose clamp, but it can prevent a camera from falling away if something fails.
Is this motorcycle action camera mounting kit enough for every camera?
It covers the mounting side, but some cameras need a brand-specific frame, cage or quick-release adapter. Check the interface on your exact GoPro, DJI, Insta360 or other action camera before ordering.
Final buying advice
The right mount is the one you can trust after a real road test. Keep the camera close to the mounting point, avoid helmet modifications, check all fasteners, use a tether when sensible and review a short test clip before a long ride. That simple process usually produces better footage than adding more extensions and more complicated brackets.