Volkswagen stereo wiring color diagram: Safe VW Radio Wire Identification Guide
Volkswagen stereo wiring color diagram is one of those searches that looks simple until the dashboard trim is off and the factory harness is in your hand. A Volkswagen radio harness can include permanent battery power, ignition logic, ground, speaker outputs, illumination, antenna amplifier power, CAN-bus data, parking signals, reverse camera inputs, steering-wheel control communication and sometimes an external amplifier. Treating every wire color as universal is the fastest way to blow a fuse, wake a warning light or lose factory functions.
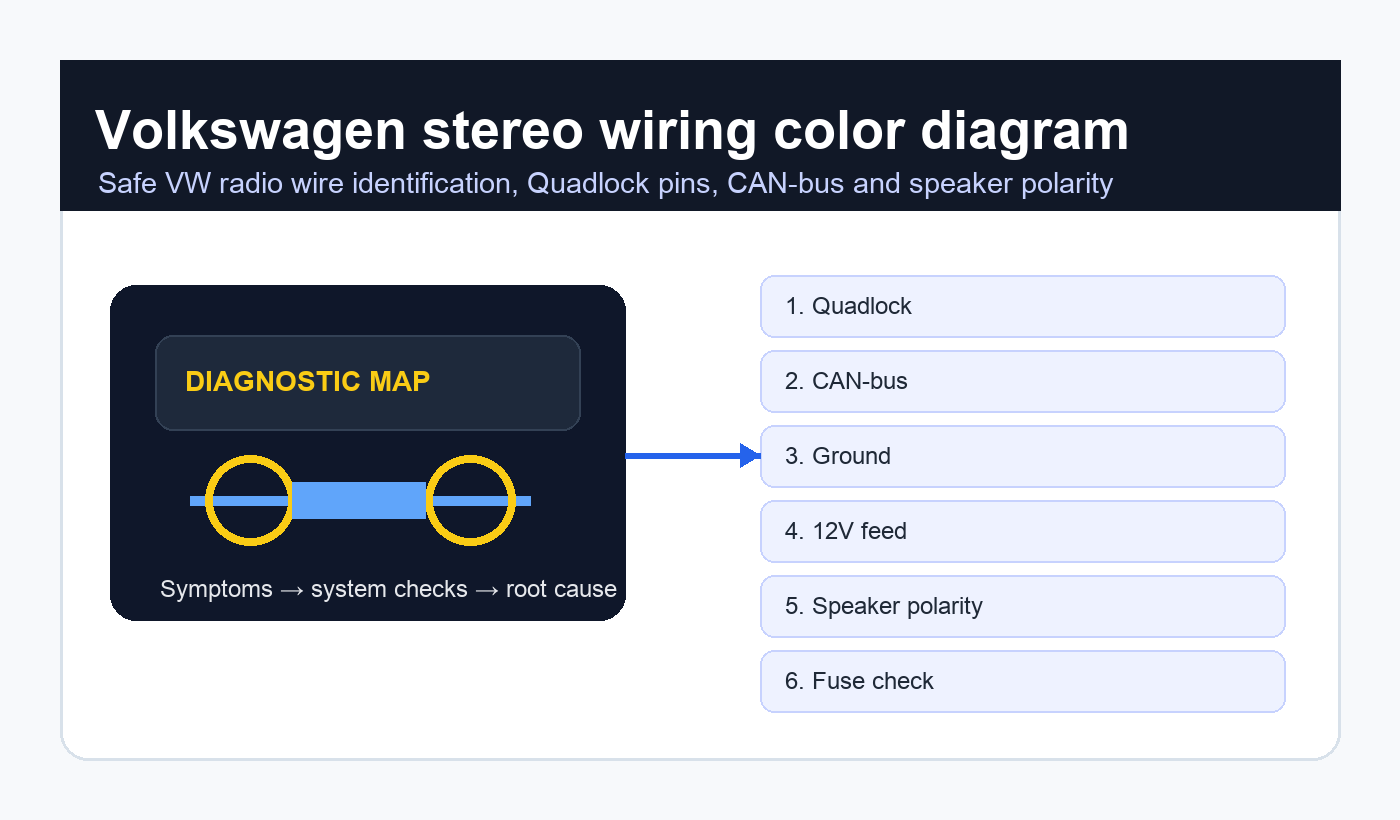
This long guide is written for owners installing an aftermarket head unit, diagnosing a silent speaker, repairing a cut harness or checking whether a previous owner damaged the radio wiring. It does not reproduce a proprietary factory service diagram. Instead, it explains how to read a VW stereo harness safely, how color conventions usually work, why model year matters, what a Quadlock connector changes, and how to confirm every circuit with a multimeter before connecting anything.
Keyword research around this topic shows a narrow but very practical search intent. Exact public volume is not reliably available, but the phrase behaves like a high-intent long-tail query: people searching it are usually already working on a vehicle. Associated searches include VW radio wiring diagram, Volkswagen radio wire colors, VW Quadlock pinout, ISO radio connector, constant 12V wire, ignition switched 12V, ground wire, speaker polarity, CAN-bus adapter, antenna amplifier wire, illumination wire, reverse camera trigger, steering wheel controls, factory amplifier, fuse box radio fuse, aftermarket stereo harness, car audio installation, multimeter testing, wire harness adapter, Mk5 Golf radio wiring, Jetta stereo wiring, Passat radio harness, Polo radio wiring, Tiguan head unit wiring and RCD radio connector.
Why Volkswagen stereo wiring color diagram Searches Can Be Risky
The danger with Volkswagen stereo wiring color diagram is not the idea of using colors. The danger is believing a color chart without checking the car. Volkswagen used different radios, trims, markets and production years, and many cars have been modified by previous owners. A brown wire is often ground in VW wiring, but that does not mean every brown-looking wire behind a radio is safe to connect. Dirt, fading, harness repairs and aftermarket splices can change the picture.
Modern Volkswagen audio systems also moved away from the older idea of a simple ignition wire. Many head units wake through CAN-bus messages. If an installer expects a classic switched 12V feed and grabs the wrong circuit, the result can be parasitic battery drain, a radio that stays on, or a dashboard fault. The correct answer is not only color; it is connector, pin position, measured voltage and vehicle specification.
That is why Volkswagen stereo wiring color diagram should be treated as a diagnostic method. The color may point you in the right direction, but the meter and connector view decide whether the wire is safe to use.
Another point matters for older cars: many Volkswagen dashboards have been opened more than once. A car may have had a Bluetooth kit, alarm, amplifier, navigation unit or previous aftermarket radio removed before you bought it. Those old changes can leave abandoned connectors or taped joints that look factory at first glance. Slow inspection is not wasted time; it is how you avoid repairing someone else’s shortcut twice.
Search Intent And Related Keyword Map
People searching for Volkswagen stereo wiring color diagram usually want one of four outcomes: connect an aftermarket stereo, repair a damaged factory harness, identify speaker wires, or troubleshoot a no-power/no-sound radio fault. The article therefore needs to answer the workflow, not just print a color list.
A strong Volkswagen stereo wiring color diagram answer also separates old ISO-era cars from later infotainment systems, because the installation logic changes when data communication replaces simple accessory wiring.
| Search cluster | Likely problem | Best practical answer |
|---|---|---|
| VW radio wire colors | Owner sees loose wires behind the dash | Identify connector first, then test voltage and continuity |
| VW Quadlock pinout | Factory plug does not match old ISO harness | Use pin position, not color alone |
| Volkswagen speaker wire polarity | One speaker is weak or out of phase | Trace pairs and confirm with tone or polarity test |
| CAN-bus radio adapter | Aftermarket stereo will not switch on properly | Use a proper interface, not random tapping |
| VW radio fuse location | Head unit is dead | Check vehicle manual, fuse card and battery feed |
Before You Touch The Harness
The first rule of Volkswagen stereo wiring color diagram work is to pause before cutting. Disconnecting the battery may be sensible for physical wiring work, but remember that some vehicles may require radio codes, window calibration or steering-angle relearn after power interruption. Check the owner’s manual and keep the key away from the ignition while connectors are exposed.
Use the official Volkswagen owner resources for model-specific basics, VIN-related information and maintenance context. Volkswagen’s owner manual portal is available at Volkswagen Owner’s Manuals. If you are dealing with an electrical fault rather than an installation, also check recall and safety information through NHTSA recalls before assuming the radio is the only problem.
For safety, Volkswagen stereo wiring color diagram work should be done with patience, good lighting and enough time to stop if the harness does not match the expected layout.
Tools Needed For Safe Identification
Volkswagen stereo wiring color diagram becomes much safer with the right basic tools. A digital multimeter is essential. A trim tool prevents broken dashboard clips. A proper vehicle-specific harness adapter avoids cutting the original loom. Heat-shrink, crimp terminals from a known brand and a fuse tap rated for the circuit are better than twisted wires and tape.
If you only have a color chart and no meter, postpone the job. Volkswagen stereo wiring color diagram is not a substitute for measuring power, ground and continuity on the actual car.
| Tool | Use | Why it matters |
|---|---|---|
| Digital multimeter | Measure voltage, ground and continuity | Confirms the circuit instead of guessing color |
| Plastic trim tools | Remove dashboard panels | Prevents scratches and broken clips |
| Harness adapter | Connect aftermarket stereo to VW plug | Avoids cutting factory wiring |
| CAN-bus interface | Creates accessory power and steering controls | Preserves modern vehicle functions |
| Fuse tester | Checks power supply and blown fuses | Separates wiring fault from fuse fault |
Common Volkswagen Wire Color Clues
A useful Volkswagen stereo wiring color diagram guide can discuss common clues, but every row below must be treated as a starting point, not a final answer. Volkswagen wiring often uses brown for ground, red or red-striped wires for battery feeds, blue/white for antenna or amplifier-related power in some older applications, and paired colors for speakers. Yet the actual function depends on connector and model year.
The most dependable Volkswagen stereo wiring color diagram habit is to write down both the color and pin position before disconnecting anything, especially if the vehicle already has aftermarket parts.
| Possible color clue | Possible function | How to verify | Warning |
|---|---|---|---|
| Brown | Ground or earth | Continuity to chassis ground | Do not assume if harness has been repaired |
| Red or red/yellow | Permanent battery feed | 12V with key off | Must be fused correctly |
| Black or black-based | Switched or ignition-related feed on some cars | Voltage changes with key state | Many newer cars use CAN instead |
| Blue/white | Antenna amplifier or remote turn-on in some setups | Voltage only when radio is on | Do not use as main power |
| Twisted pair | CAN or data communication | Do not load-test with a lamp | Incorrect tapping can cause module faults |
| Matched color pair | Speaker positive and negative | Continuity to speaker or tone test | Wrong polarity weakens bass |
Quadlock Versus ISO Connectors
Volkswagen stereo wiring color diagram becomes much clearer once you identify the connector family. Older installations may use ISO-style blocks with power and speaker sections. Many later Volkswagen models use a Quadlock connector that groups power, speakers, data and accessory circuits into a large locking plug. The physical connector tells you more than wire color alone.
If the car has a Quadlock plug, avoid forcing a universal ISO adapter without checking pin assignment. Good adapters are sold for the exact model year and radio type, and better kits include a CAN-bus interface for accessory power, illumination, steering wheel controls and parking-sensor audio retention.
For many late-model cars, Volkswagen stereo wiring color diagram begins with selecting the correct Quadlock adapter rather than probing for a wire that the factory never provided.
Connector Identification Table
| Connector clue | What it suggests | Installation approach |
|---|---|---|
| Two smaller rectangular ISO plugs | Older style power and speaker separation | Use ISO harness adapter and test feeds |
| Large single locking plug | Quadlock-style Volkswagen connector | Use vehicle-specific Quadlock adapter |
| Fiber optic cable present | Premium amplifier or infotainment network | Special interface may be required |
| Separate antenna adapter needed | Powered antenna amplifier likely | Use correct amplified antenna adapter |
Power Wires: Constant, Accessory And Ground
The power side is where Volkswagen stereo wiring color diagram mistakes cause the most frustration. Constant 12V keeps memory alive. Accessory or switched power tells the stereo when to turn on. Ground completes the circuit. If constant and accessory are reversed, the radio may forget presets, stay on after the key is removed or drain the battery.
On CAN-bus cars, the factory radio may not have a conventional switched wire in the radio plug. A CAN interface reads vehicle data and provides a clean accessory output for the aftermarket stereo. This is not a luxury; it is often the correct way to install the head unit without disturbing other modules.
In practical terms, Volkswagen stereo wiring color diagram should answer whether the radio needs a true accessory feed, a CAN-generated accessory output, or a retained factory amplifier signal.
Speaker Wires And Polarity
Volkswagen stereo wiring color diagram searches often come from owners who have sound, but the sound is thin. That can happen when one speaker is wired out of phase. The speaker moves opposite to the others, reducing bass and making the stereo feel weak even though all speakers are active.
Do not use a high-current test light on unknown audio wires. Use a tone generator, continuity checks at the speaker end, or a low-risk speaker polarity tool. If the vehicle has a factory amplifier, speaker wires may not run directly from the head unit to each speaker, so tracing becomes more important.
Good Volkswagen stereo wiring color diagram notes include left front, right front, left rear and right rear speaker pairs, plus polarity confirmation after the stereo is powered safely.
CAN-Bus, Steering Wheel Controls And Factory Amplifiers
A modern Volkswagen stereo wiring color diagram answer must explain CAN-bus. Controller Area Network communication lets modules share information. In many Volkswagen models, the radio receives information digitally rather than through one wire for every command. Steering wheel controls, illumination dimming, reverse signal, vehicle speed pulse and parking sensor audio may all depend on an interface.
Factory amplified systems add another layer. Some cars need a remote turn-on signal for the amplifier, while others use data communication. If an aftermarket stereo powers up but there is no sound, the issue may be amplifier activation rather than speaker wiring.
This is where Volkswagen stereo wiring color diagram can prevent wasted work: a no-sound problem may be an amplifier-retention issue, not four failed speaker connections.
Safe Testing Workflow
The safest Volkswagen stereo wiring color diagram workflow is slow and documented. Photograph the original harness, label every adapter, and test before final assembly. If a reading does not match the expected circuit, stop and identify why. The wrong wire may belong to a sensor, data network, airbag-adjacent loom or previous alarm installation.
- Identify the exact car: model, year, trim, market and factory radio model.
- Check the owner manual for fuse and radio information.
- Inspect the harness for cuts, splices, corrosion or non-original adapters.
- Find ground by continuity to chassis, not by color alone.
- Find constant 12V with the key off using the multimeter.
- Confirm whether accessory power exists or requires a CAN-bus adapter.
- Trace speaker pairs before connecting the head unit.
- Test the stereo before refitting trim and screws.
When A Wire Color Table Is Not Enough
Volkswagen stereo wiring color diagram can answer a lot, but it cannot replace the vehicle-specific diagram when the car has premium audio, navigation, parking sensors, factory Bluetooth, reversing camera or modified wiring. A wire may change function across years, and imported vehicles may not match a chart written for another market.
In those cases, use a paid service manual, factory repair information, or a professional installer. The money saved by guessing can disappear quickly if a body control module logs faults or the battery drains overnight.
Think of Volkswagen stereo wiring color diagram as a map legend, not the map itself. The exact map is the vehicle-specific service information matched to the car.
Internal Guides For Related Diagnostics
If you are comfortable reading electrical information, the Xmotoparts guide to the 2.0 TDI 140 engine diagram is useful because it shows how to approach diagrams without confusing labels with repairs. Electrical fault logic also overlaps with Toyota Corolla electronic key system fault, where power supply and module communication matter. For key and immobilizer context, see Opel Mokka key programming.
Troubleshooting Table
| Symptom | Likely cause | First check | Next step |
|---|---|---|---|
| Radio dead | No constant feed, blown fuse, poor ground | Measure 12V and ground | Check fuse locations and harness adapter |
| Radio forgets settings | Constant and accessory swapped | Test key-off voltage | Correct adapter wiring |
| Radio stays on | No proper accessory signal | Check for CAN-bus requirement | Install correct CAN interface |
| No sound | Factory amplifier not triggered | Check remote output and amp system | Use amp retention adapter |
| Weak bass | Speaker polarity reversed | Test speaker phase | Correct paired wires |
| Dashboard warning after install | Data wire disturbed or wrong tap | Scan modules | Restore wiring and clear faults properly |
Best Practices For Aftermarket Stereo Installation
Volkswagen stereo wiring color diagram work is cleanest when the original vehicle harness remains untouched. Use a plug-in adapter, solder or crimp only on the adapter side, and keep the factory loom reversible. Secure the harness so it cannot rattle, pull on connectors or rub against metal brackets.
Do not hide bare copper behind the dashboard. Do not twist wires and wrap them with household tape. Do not assume the old installer was correct. If the car already has cut wiring, repair it methodically with proper terminals, heat-shrink and a diagram matched to the VIN whenever possible.
When done correctly, Volkswagen stereo wiring color diagram should leave the dashboard cleaner than you found it, with labeled adapters and no mystery splices for the next owner.
After the stereo powers up, test more than music. Confirm that the key-off behavior is correct, the battery is not being drained, radio reception works, steering-wheel buttons behave normally, parking sensors still make sound where equipped, and no warning lights appear after a short drive. A neat installation is both electrical and functional.
FAQ
Is brown always ground on Volkswagen radio wiring?
Brown is commonly used for ground in Volkswagen wiring, but Volkswagen stereo wiring color diagram work should still verify ground with a multimeter. Previous repairs, faded insulation and non-factory wiring can mislead you.
Can I install a stereo without a CAN-bus adapter?
Sometimes yes, especially on older cars, but many modern Volkswagen models need a CAN-bus interface for clean accessory power and retained functions. Guessing can cause battery drain or lost steering controls.
Where is the ignition wire on a VW radio harness?
On some vehicles it may not exist as a simple switched 12V wire at the head unit. The factory radio may wake through data communication, which is why a proper interface can be required.
Can a wrong stereo wire damage the car?
Yes. Incorrect wiring can blow fuses, damage the head unit, disturb data lines or create module faults. The safe method is connector identification, meter testing and a model-specific adapter.
Should I follow an online color chart?
An online chart can be a starting point, but it should never be the only evidence. Confirm the connector, pin position, voltage and continuity before making a permanent connection.
Final Advice
Volkswagen stereo wiring color diagram is useful only when it leads to verification, not guessing. Volkswagen radio wiring varies by model, market, radio generation and factory options, so the reliable method is to identify the connector, test every circuit and preserve the original harness. A careful installer with a multimeter and the right adapter will usually get a cleaner result than someone who trusts wire colors alone.
